I made my first t-shirt quilt in 2017, right before my son graduated from High School in June of 2018. As a young Stay - At - Home - Mom in the trenches of motherhood, I began collecting team t-shirts and sticking them in the back of the closet. They began to take up some significant real estate in their closets so I started to think of what I could do with them.
Somehow and someway I strung a thought together and figured I could make a t-shirt quilt for each child. I was excited to get all the final t-shirts from his senior year and begin cutting it. I didn't have the proper tool, so as you know t-shirts are stretchy in all the directions. I did my best to make them all a 12x12 square.
I bought a twin flannel sheet for the backing, added the stabilizer and the batting as the middle layers. Because it's the first one, it is in no way perfect. I can point out every single flaw. But it is my favorite blanket. He uses it on his couch in his bedroom. When I sit in his room to chat with him I grab his blanket and use it. It's so cozy, like a the favorite t-shirts that it is.
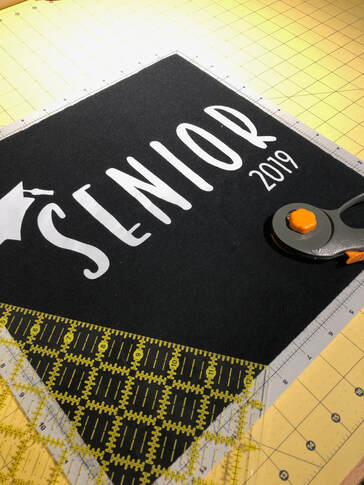
I also made a second quilt for a friends daughter, also graduating in 2018. For this quilt I splurged and bought the rotating cutting mat. This was the game changer for sure and I am so glad I didn't wait any longer.
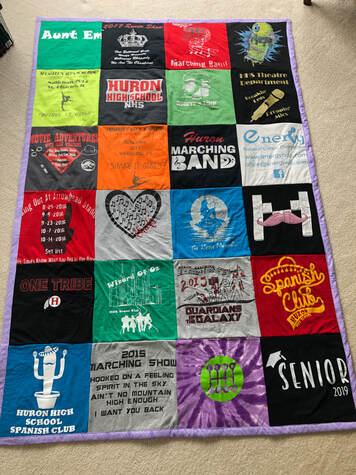
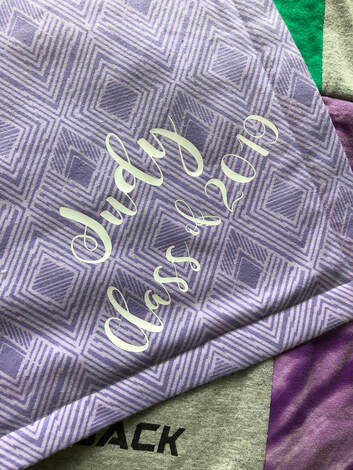
A couple weeks ago, I finished my 3rd t-shirt quilt and it's even better.
Making a t-shirt quilt is pretty simple. You can easily do it also, there's plenty of tutorials. Or you can hire me to make your t-shirt quilt. They are so much fun to make. Click here for more details, it will take you to my Etsy shop for prices and sizes.
Somehow and someway I strung a thought together and figured I could make a t-shirt quilt for each child. I was excited to get all the final t-shirts from his senior year and begin cutting it. I didn't have the proper tool, so as you know t-shirts are stretchy in all the directions. I did my best to make them all a 12x12 square.
I bought a twin flannel sheet for the backing, added the stabilizer and the batting as the middle layers. Because it's the first one, it is in no way perfect. I can point out every single flaw. But it is my favorite blanket. He uses it on his couch in his bedroom. When I sit in his room to chat with him I grab his blanket and use it. It's so cozy, like a the favorite t-shirts that it is.
I also made a second quilt for a friends daughter, also graduating in 2018. For this quilt I splurged and bought the rotating cutting mat. This was the game changer for sure and I am so glad I didn't wait any longer.
A couple weeks ago, I finished my 3rd t-shirt quilt and it's even better.
Making a t-shirt quilt is pretty simple. You can easily do it also, there's plenty of tutorials. Or you can hire me to make your t-shirt quilt. They are so much fun to make. Click here for more details, it will take you to my Etsy shop for prices and sizes.


 RSS Feed
