April was an amazing month for lil' alice. At the end if March I made a Essential Oil Zip Pouch for someone who wanted something cute to carry her oils in as opposed to the plastic sandwich bag.
This was actually an easy adjustment to the essential zippered pouches that I already make and can make in my sleep.
Today is the first day that I have been caught up on orders for these! It's been a constant flow of orders thru Etsy.
This was actually an easy adjustment to the essential zippered pouches that I already make and can make in my sleep.
Today is the first day that I have been caught up on orders for these! It's been a constant flow of orders thru Etsy.
I have +60 of these darlings all over the United States, a few to Canada, and one to Singapore. I am blown away from all the orders + the repeat customers too!
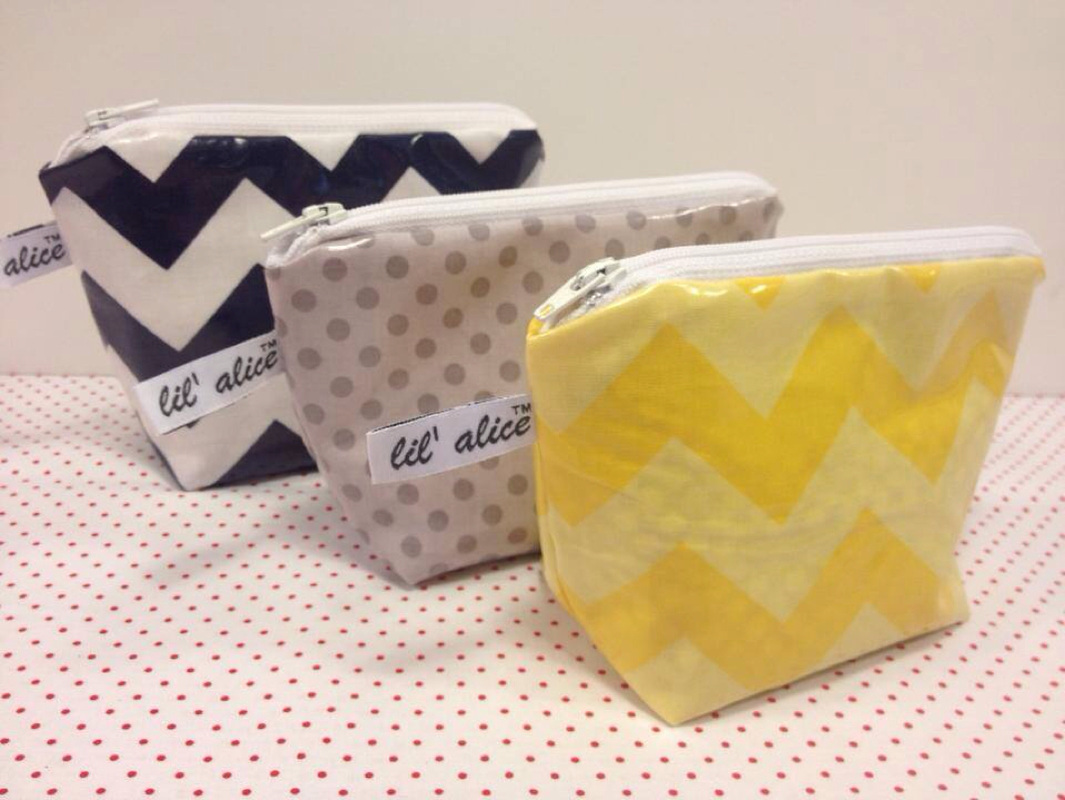
What makes this Essential Oil Zip Pouch such a hit?
What makes this Essential Oil Zip Pouch such a hit?
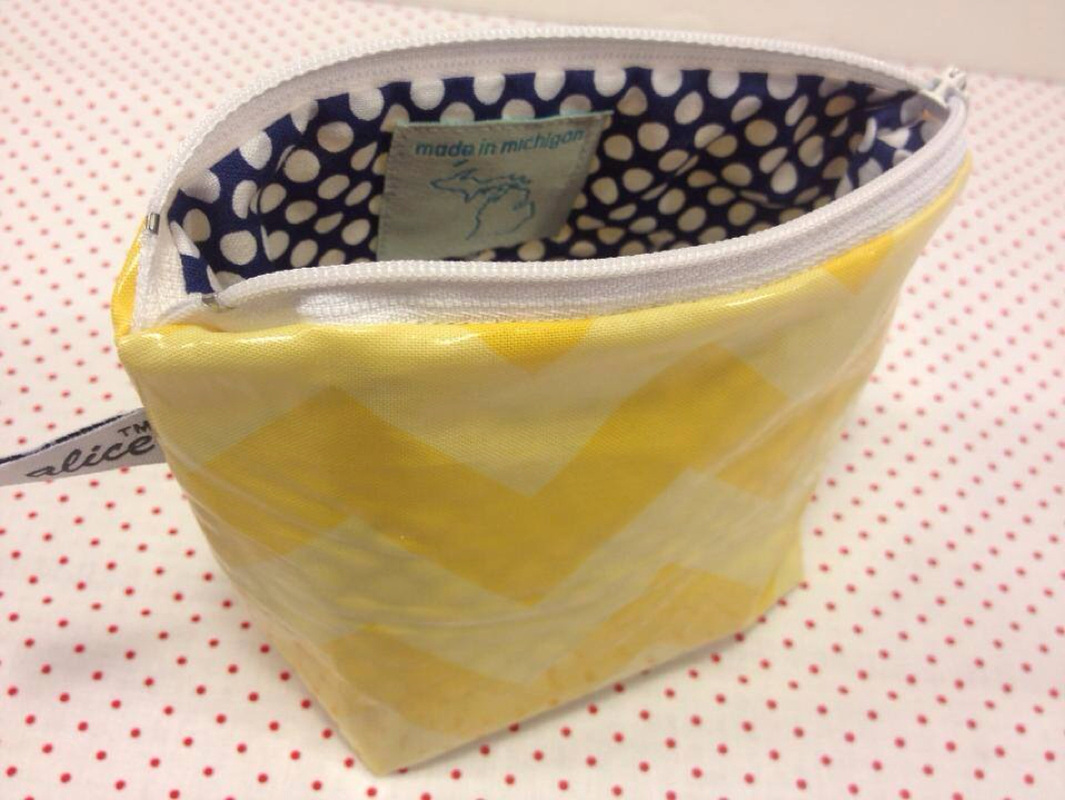
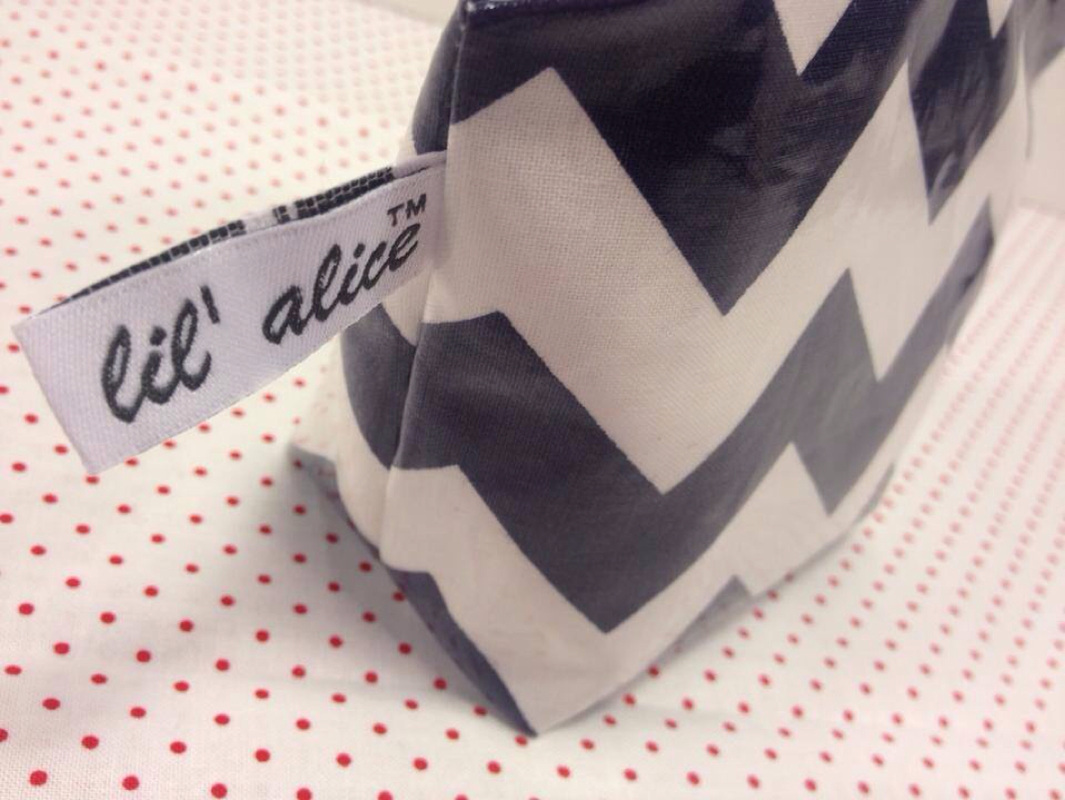
- it's laminated, which makes it waterproof and easy to wipe.
- elastic is sewn onto the lining making 8 spots available for the oils to be held into place!
- it has boxed corners, which allows it to stand on it's own.
- it's sturdy, not floppy or flimsy!
- the prints are fun!
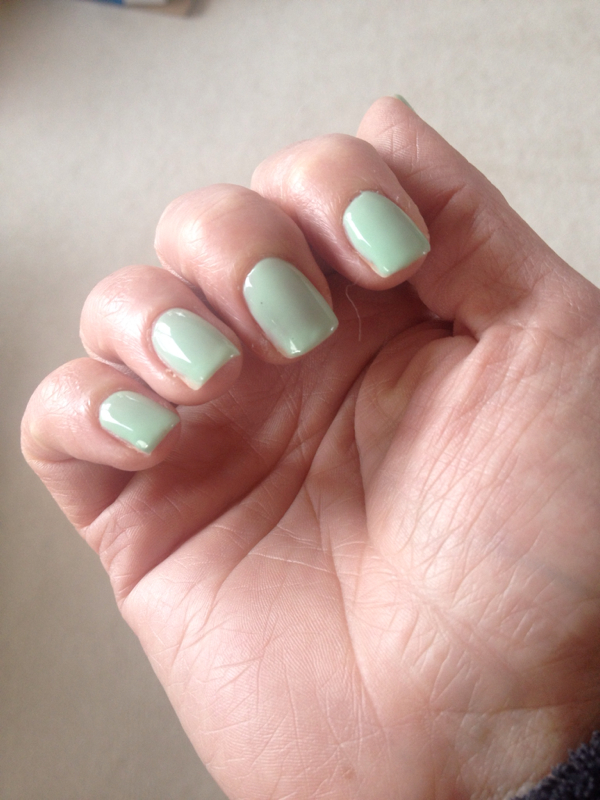
What else can these be used for? Since there's elastic on the inside to hold the oils, it could also be used to hold lipsticks and nail polishes too.
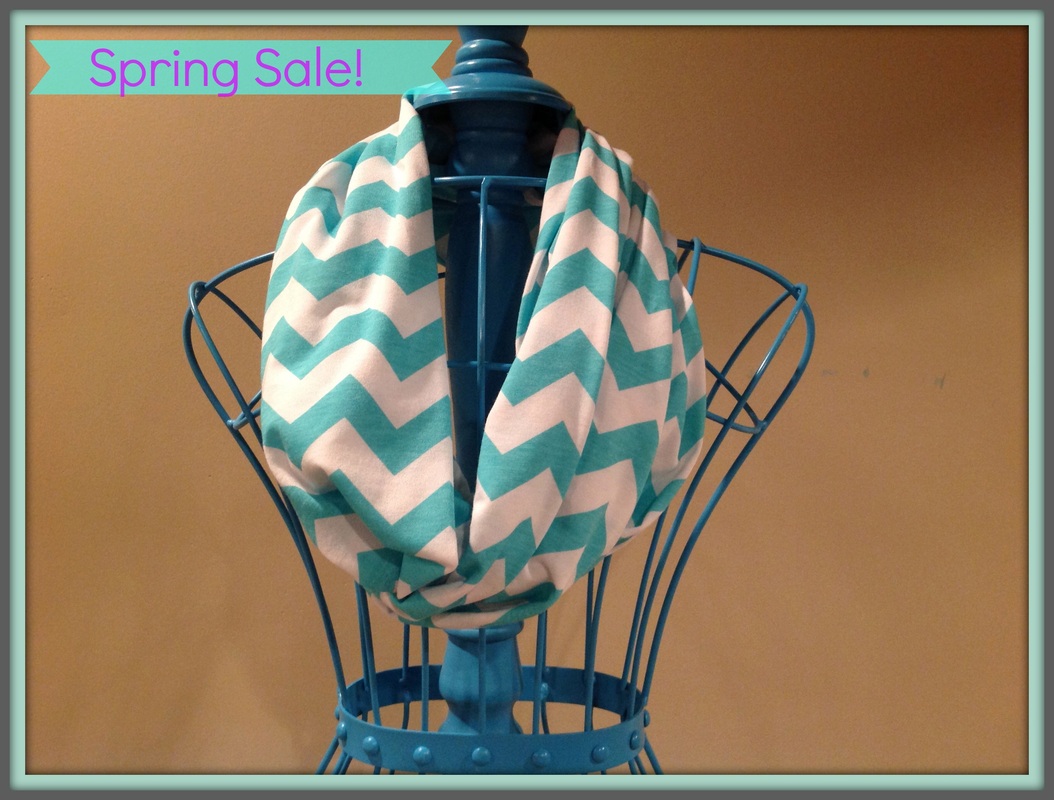
Head over to the lil' alice Etsy Shop and see the new fabrics that were just listed, because the previous prints are nearly sold out (like the yellow chevron).
Head over to the lil' alice Etsy Shop and see the new fabrics that were just listed, because the previous prints are nearly sold out (like the yellow chevron).


 RSS Feed
